Table of Contents
Introduction
Fabric decoration has changed a lot in the last two decades, and much of that change comes down to one shift: the move from manual, screen-based methods to computer-controlled printing. If you have ever wondered how a design on a screen ends up as a crisp, colorful print on a t-shirt, cushion cover, or saree, you are really asking about the textile printing process that powers modern fabric decoration. This process combines design software, specialized printers, and chemical treatments to transfer artwork directly onto fabric with a level of detail that older methods simply cannot match. In this guide, we will walk through the entire process step by step, look at the technology behind it, and explain why brands and manufacturers are increasingly choosing it over conventional printing.
What Is Digital Textile Printing?
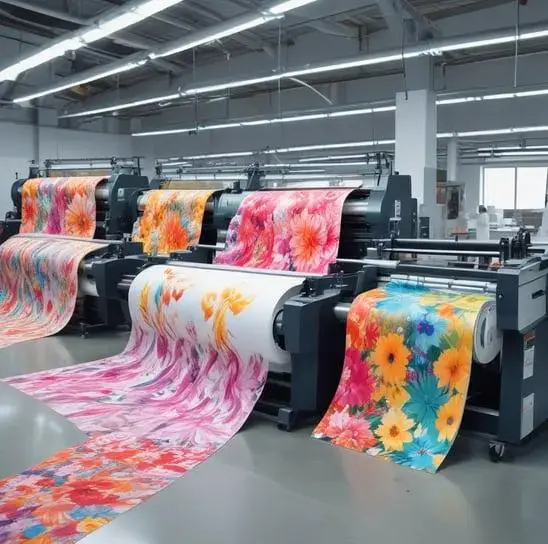
Digital textile printing refers to the method of printing designs directly onto fabric using inkjet technology, guided entirely by digital files rather than physical screens or plates. Unlike older techniques that required a separate screen for every color in a design, this approach reads a digital image and reproduces it directly onto the cloth, color by color, in a single continuous run. This is what makes the modern textile printing process so different from what came before it there is no need to prepare multiple screens, mix large batches of dye ahead of time, or commit to thousands of meters of fabric before you even see a sample. A designer can send a file in the morning and have a printed sample in hand by the afternoon. This flexibility has made digital printing especially popular among fashion labels, home decor brands, and small businesses that need to test designs before committing to bulk production.
Textile Printing Process vs Traditional Printing Methods
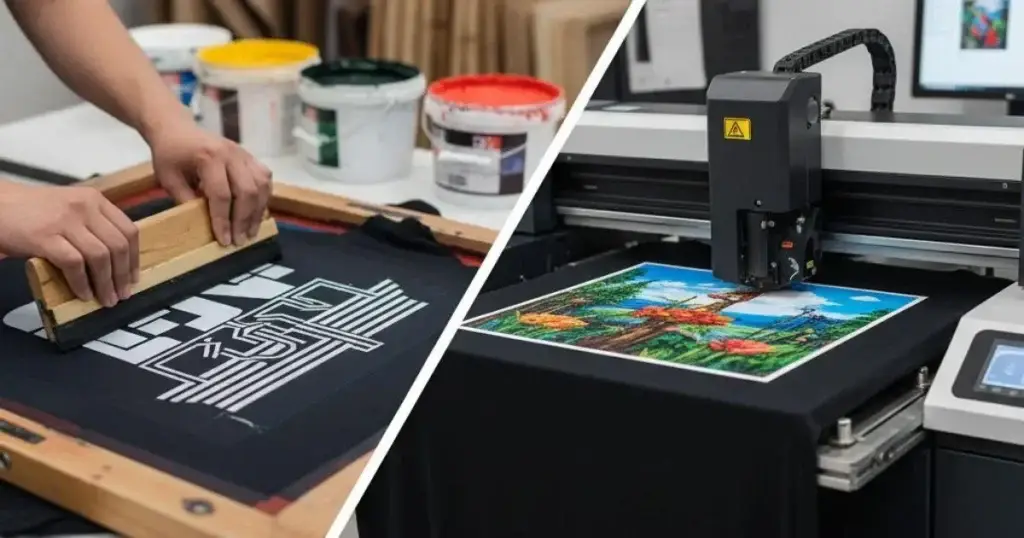
To understand why digital printing has become so widely adopted, it helps to compare it with traditional textile printing methods such as screen printing, block printing, and rotary printing. In screen printing, each color in a design requires its own mesh screen, and the fabric passes under each screen in sequence, with the ink pressed through by a squeegee.
This works well for simple designs printed in very large quantities, but it becomes expensive and slow for complex, multi-color, or photographic designs. Rotary printing follows a similar logic using engraved cylinders instead of flat screens, which speeds things up for long production runs but still requires significant setup time and cost.
In many ways, the modern fabric printing process simply removes steps that traditional methods treated as unavoidable. Digital printing removes almost all of that setup. There are no screens to prepare, no cylinders to engrave, and no minimum quantity needed to justify the cost of setup. Colors are applied precisely where the design calls for them, which also means far less ink and water is wasted compared to conventional dyeing methods. For brands working with intricate patterns, gradients, or photographic prints, digital technology reproduces detail that traditional fabric printing techniques would struggle to achieve consistently.
Key Benefits of Digital Textile Printing
The biggest advantage of this approach is speed combined with design freedom. Because there is no physical screen or plate involved, a designer can change colors or swap artworks between print runs without extra tooling cost, making even a single garment or a short ten-meter run commercially viable. This consistency and control is a big reason the textile printing process appeals to small businesses and independent designers who want to test ideas before committing to bulk production. Sustainability adds to the appeal too, ink is applied only where the design needs it, so water and chemical usage stay far lower than conventional dyeing, which is why manufacturers increasingly favor this shift in textile printing technology. For help planning production timelines around your own orders, our page on fabric sampling and bulk printing breaks this down further.
Types of Digital Textile Printing Technologies
Not all digital printing works the same way, and the right method depends heavily on the fabric being used. Direct-to-fabric printing sprays ink straight onto pre-treated cloth and works well for cotton, linen, and other natural fibers. Sublimation printing, by contrast, first prints the design onto a special transfer paper using disperse dyes, and then uses heat to turn the ink into a gas that bonds with polyester fibers, producing vivid, long-lasting colors on synthetic fabrics. Pigment-based printing uses a binder to attach color to the surface of almost any fabric type, making it a versatile option when working with blended textiles. Reactive dye printing, meanwhile, forms a chemical bond with cellulose fibers like cotton and rayon, resulting in prints that are soft to the touch and highly resistant to fading after multiple washes. Choosing between these methods depends on the fiber content, the intended use of the fabric, and how vibrant or wash-resistant the final print needs to be a decision that shapes every later stage of the textile printing process.
Digital Textile Printing Process Step by Step
Now let’s look at how a design actually moves from a digital file to a finished, wearable or usable piece of fabric. Understanding each stage of the textile printing process helps explain why the final result looks and feels the way it does, and where quality can be gained or lost along the way.
Step 1 Fabric Selection and Pre-Treatment
Every print starts with choosing the right base fabric, since fiber content determines which ink type and printing method will work best. Once selected, the fabric is coated with a pre-treatment solution that helps the ink bond properly to the fibers, prevents colors from bleeding into one another, and improves overall sharpness. Skipping or rushing this stage almost always shows up later as dull colors or blurred edges in the finished print.
Step 2 Design Creation and File Preparation
The artwork is created or finalized in design software, with attention paid to resolution, color mode, and repeat pattern alignment if the design needs to tile seamlessly across a length of fabric. A high-resolution file is essential here, since anything printed at low resolution will appear pixelated once scaled up to garment or yardage size.
Step 3 Color Profiling and Calibration Using RIP Software
Before printing begins, the file passes through RIP (Raster Image Processing) software, which translates the digital colors into instructions the printer can execute using its specific ink set. This step calibrates color output against the fabric type being used, ensuring that what appears on screen matches, as closely as possible, what comes out on the cloth.
Step 4 Printing the Design onto Fabric
With calibration complete, the fabric is loaded onto the printer and the design is printed directly onto its surface using thousands of tiny ink droplets applied in precise patterns. Depending on the size of the order and the printer’s width, this stage can take anywhere from a few minutes for a sample to several hours for a bulk production run.
Step 5 Steaming or Curing the Print
Once printed, the fabric usually needs a fixation stage to lock the color into the fibers permanently. For reactive and pigment inks, this typically involves steaming the fabric at controlled temperature and humidity, while sublimation prints are heat-pressed to bond the dye with polyester fibers. This step is critical for wash fastness and color durability over the life of the product.
Step 6 Washing and Finishing
After fixation, the fabric goes through a washing stage to remove any unfixed dye, pre-treatment residue, or loose particles left on the surface. This is followed by drying and, where needed, finishing treatments like softening or calendaring to give the fabric its final hand-feel and appearance before it is cut and sewn into finished products.
Machines, Inks, and Fabrics Used
If you’d like to see sample prints across different fabric and ink combinations before placing a bulk order, browse our portfolio of digital prints for reference. The equipment behind this process ranges from compact desktop printers used by small studios to large industrial machines capable of printing several meters of fabric per minute. Ink choice depends entirely on the fabric: reactive inks for cotton and natural cellulosic fibers, disperse inks for polyester through sublimation, acid inks for silk and nylon, and pigment inks for a broad mix of fabric types where versatility matters more than maximum color vibrancy. Cotton, silk, polyester, linen, and various blended fabrics all respond differently to these ink types, which is why fabric selection and ink matching go hand in hand during production planning. For a closer look at which fabrics suit your specific project, our team can walk you through options on our fabric and material guide.
Common Challenges and How They Are Solved
Even with modern equipment, a few recurring challenges show up in production. Color matching between what appears on a monitor and what prints on fabric is a common frustration, and it is usually addressed through proper ICC color profiling and regular printer calibration rather than trial and error. Fabric shrinkage after washing can distort a design if it was not accounted for during file preparation, so experienced printers build in slight adjustments based on known shrinkage rates for each fabric type. Print durability and wash fastness depend heavily on getting the fixation stage right, which is why skipping or shortening the steaming or curing step almost always leads to premature fading or cracking of the design. Working with an experienced production partner who understands these variables, and who treats each stage of the textile printing process with equal care, makes a noticeable difference in the consistency of the final output.
Applications of Digital Textile Printing
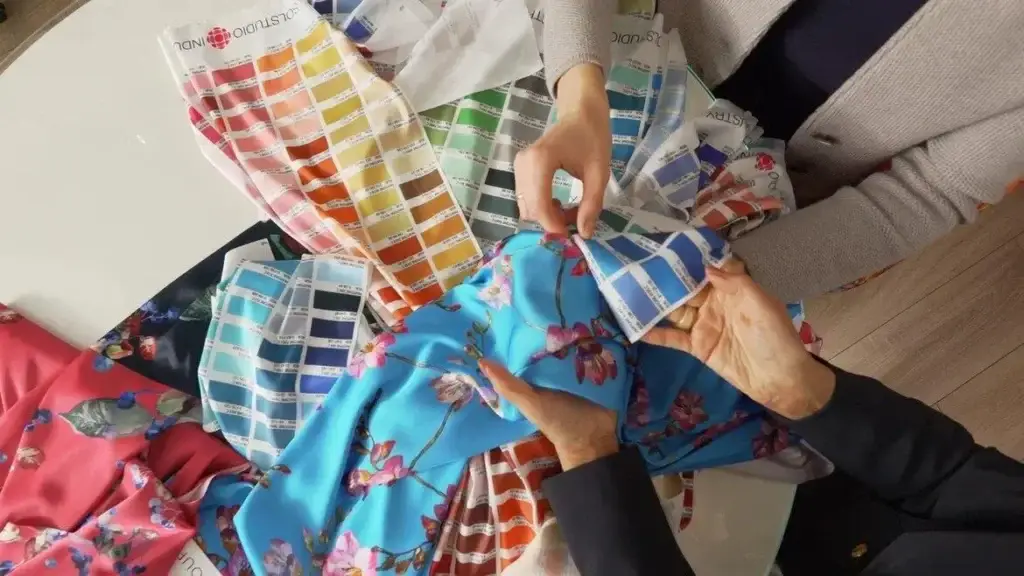
This technology now touches a wide range of industries. In fashion and apparel, it allows designers to produce short runs of unique prints without the financial risk of large minimum orders, which has fueled the rise of made-to-order and limited-edition clothing lines. Home textile brands use it for cushions, curtains, bedsheets, and upholstery fabric, where customers increasingly expect personalized or small-batch designs rather than mass-produced patterns. Beyond fashion and home décor, technical and industrial textiles also benefit from digital printing for applications like signage fabric, display banners, and specialty textiles that require precise, repeatable patterns at scale.
Final Thoughts
From fabric selection and pre-treatment through to final washing and finishing, the digital textile printing process brings together design software, precise calibration, and careful chemical treatment to produce fabric that is vibrant, detailed, and consistent from the first meter to the last. Whether you are a designer testing a new print, a small brand scaling up production, or a business exploring more sustainable printing options, understanding each stage of this process helps you make better decisions about fabric, ink, and finishing choices. If you are ready to bring a design to fabric, get in touch with The Printink Co to discuss which printing method and fabric combination will work best for your project.
Frequently Asked Questions
Yes, it is generally more cost-effective than screen printing for small quantities, since the textile printing process requires no setup cost for screens or plates, and you only pay for the fabric and ink actually used.
A single sample can often be turned around within a day, while bulk orders typically take longer depending on fabric length, the number of colors, and the fixation and finishing stages required.
Cotton and other natural cellulosic fibers work well with reactive inks, polyester performs best with sublimation printing, and pigment inks offer flexibility across a broader range of blended fabrics.